Room study / Golf

Golf, From Strike to Screen

A believable fairway starts with a real strike. Let the player, the launch monitor and the containment system establish the geometry before the finishes do.

Locate the player before the projector

Begin with the people who will actually swing in the room. Record their handedness, longest intended club, normal stance and confidence around an enclosure. A comfortable practice iron swing is not evidence that a full driver swing will clear the same ceiling or wall. Test the intended movement envelope carefully, using a safe mock-up before equipment is energised or balls are struck.

Include the follow-through, the club’s route behind the body and any change of stance. Ceiling beams, pendants, door closers and sloping roof sections can matter more than the nominal ceiling height. Keep spectators, furniture and circulation outside the working area. If both left- and right-handed players will use the room, treat the changeover as a design requirement rather than a minor adjustment.

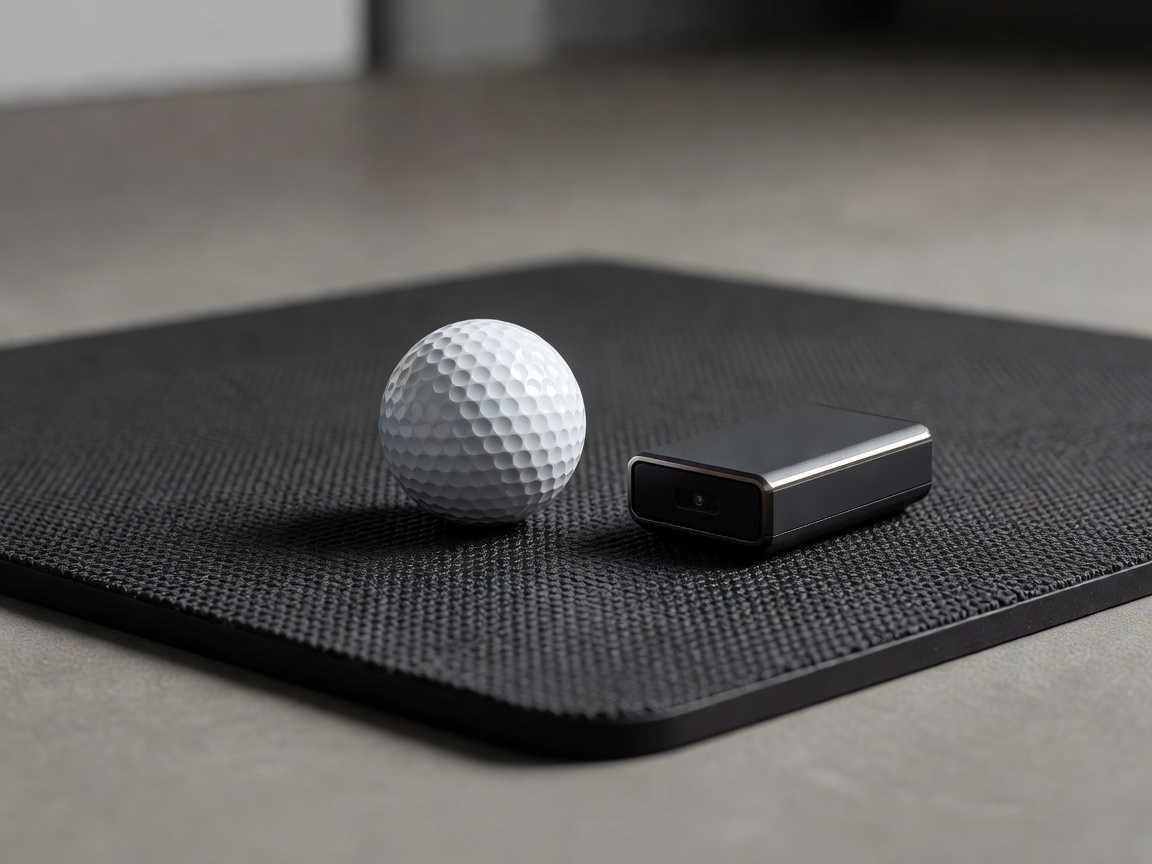
Golf ball on a hitting mat beside a launch monitor sensor
The strike position is the reference point for every subsequent measurement.

Let the tracking architecture lead

Camera-based and radar-based launch monitors do not impose identical room requirements. A floor-level camera unit may need a defined ball placement zone and an unobstructed view of impact. A radar unit positioned behind the player may need a specific relationship between sensor, ball and screen. Overhead systems introduce mounting, cable access and ceiling coordination questions of their own.

TrackMan, Foresight Sports and Uneekor offer different products and operating modes; a brand name alone does not establish the installation envelope. Obtain the current manual for the exact model and software configuration. Check indoor requirements, approved balls or markings where applicable, lighting limitations and left/right-handed operation. Manufacturer diagrams should be reconciled with a measured room survey, not scaled from a promotional photograph.

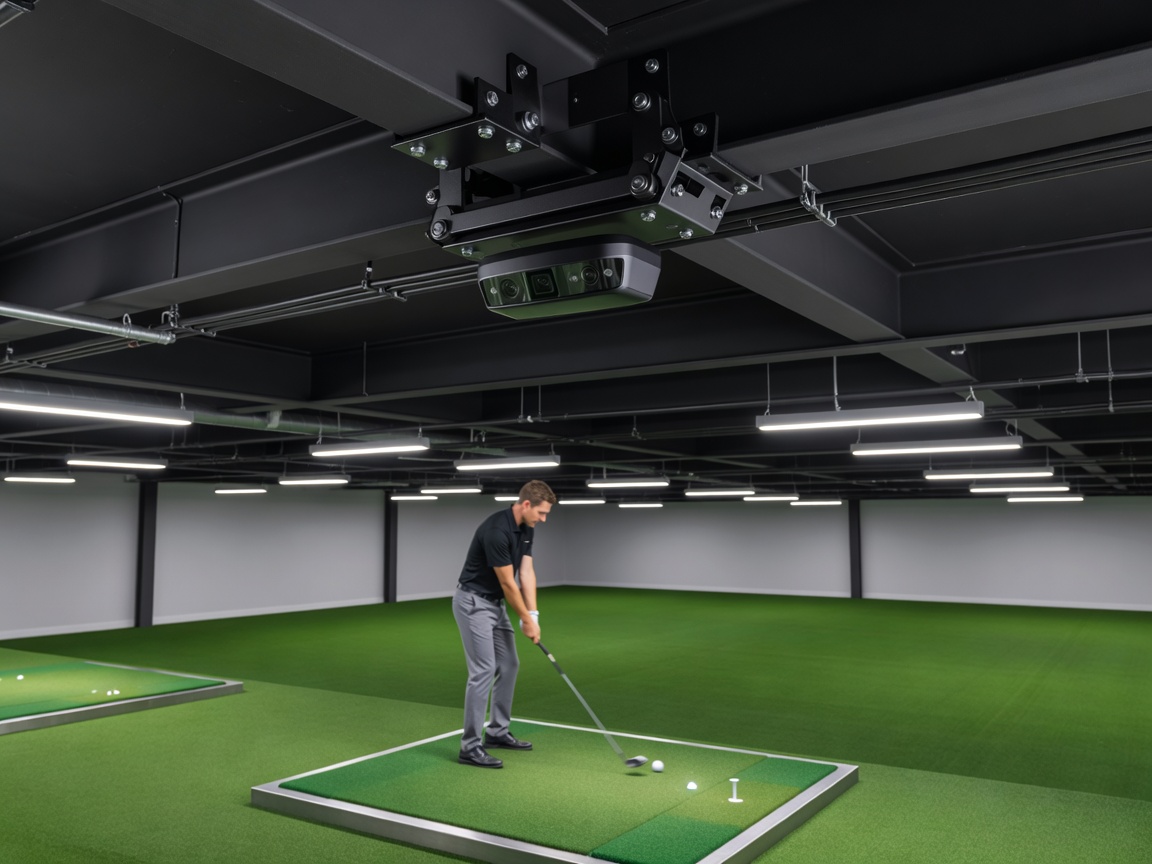
Ceiling-mounted optical sensor overlooking an indoor golf hitting area
Overhead equipment competes for space with projection, lighting and structure.
Equipment-to-room dependency

Containment is a complete assembly

An impact screen is not a substitute for a designed enclosure. Follow the screen supplier’s instructions for support, tension, clearance behind the fabric and protected edges. A screen pulled too tight may behave differently on rebound from one installed as intended.

Address high shots, low shots, side misses and the junction between screen and floor. Exposed frame members, nearby glazing and unprotected hard surfaces deserve particular attention. Use balls and activities approved for the complete system. Stop play if fabric, attachments or protective padding show damage; a good image does not prove that containment remains safe.

Coordinate the light path and the image

Choose the projector from an actual throw calculation using the selected lens, image size and mounting position. Short throw is not a universal answer: the player can cast a shadow, the enclosure can obstruct the lens, and an overhead device can occupy the same ceiling position. Confirm lens offset, keystone limitations and service access before routing cables or closing the ceiling.

A larger image does not automatically improve perception. The visible horizon, screen aspect ratio and software output need to work together. Ambient light makes the room more welcoming but can wash out projection or interfere with some tracking systems. Use separately controlled lighting zones and check the sensor manufacturer’s guidance on lamps, reflections and sunlight.

Make repeated practice comfortable

The hitting surface affects the player as much as the image does. Consider stance level, replaceable strike inserts, underfoot stability and the transition into the surrounding floor. A raised platform can introduce a trip edge or reduce usable headroom. Compare the full floor build-up rather than the advertised mat thickness alone.

Impact noise travels through both air and structure. Absorptive wall treatments can reduce room reverberation, but they do not by themselves isolate the strike from bedrooms or neighbouring properties. Place the room thoughtfully, assess the existing construction and seek acoustic advice where separation matters. Ventilation should handle players, projector and computer without directing distracting airflow across the hitting zone.

Commission the whole session

Before accepting the installation, test normal starts, misreads, handedness changes, software updates and safe shutdown. Confirm that the operator can reach controls without entering another player’s swing area. Record reference positions for the ball, mat and movable equipment so that cleaning does not quietly change the calibration. Keep spare consumables and a clear inspection routine. The premium outcome is not simply a bright screen: it is a room that produces repeatable practice without making the household work around its weaknesses.

Resolve each dependency before the fit-out
DecisionRoom consequenceEvidence to obtain
Launch monitor modelBall position, clear views, mountingCurrent indoor installation manual
Screen assemblySupport, rebound space, edge protectionSupplier’s complete enclosure specification
Projector and lensThrow, shadow paths, ceiling servicesModel-specific throw calculation
Hitting surfaceFloor height, stability, replacement accessFull build-up and physical trial

Turn the equipment list into a room brief

Record the intended players and unresolved measurements before discussing finishes.